
How to Make Low Tunnel Hoops (DIY Garden Hoops for Row Cover)
When I was ready to buy my first low tunnel hoops, it was a mystery. I couldn’t find them anywhere. Where were growers getting these horseshoe shaped tubes? Johnny’s didn’t have them and I couldn’t find any resources from Floret, so where did these hoops come from?
And then I realized… I had to make my own low tunnel hoops. And come to find out, it’s actually pretty easy.
In this tutorial, I’ll show you exactly how to make low tunnel hoops using a hoop bender and electrical conduit. These DIY garden hoops are perfect for raised beds, row cover, and protecting cut flowers from frost and pests.

What Are Low Tunnel Hoops?
Low tunnel hoops are simple, curved supports that create a mini greenhouse over your garden beds. They’re typically made from bent electrical conduit (or sometimes PVC) and are used to hold row cover, frost cloth, or plastic above your plants.
Think of them as tiny, temporary hoop houses.
Instead of covering an entire field like a high tunnel does, low tunnels protect a single bed or row at a time. They’re an easy and affordable way to protect seedlings and cut flowers from frost, wind, and even pests.
I use them to extend my growing season and protect plants when the weather can’t quite make up its mind which, if you live in the Midwest, is basically all of spring.
Materials Needed to Make Low Tunnel Hoops
First, you need a hoop bender, ½” x 10’ electrical conduit and some space!
When it comes to the hoop bender, you can choose between a 3’ hoop bender and a 4’ hoop bender. Because our rows and beds are 4’ wide, I use the 4’ hoop bender.


The conduit can be found at most hardware stores and cost around $6 per piece.
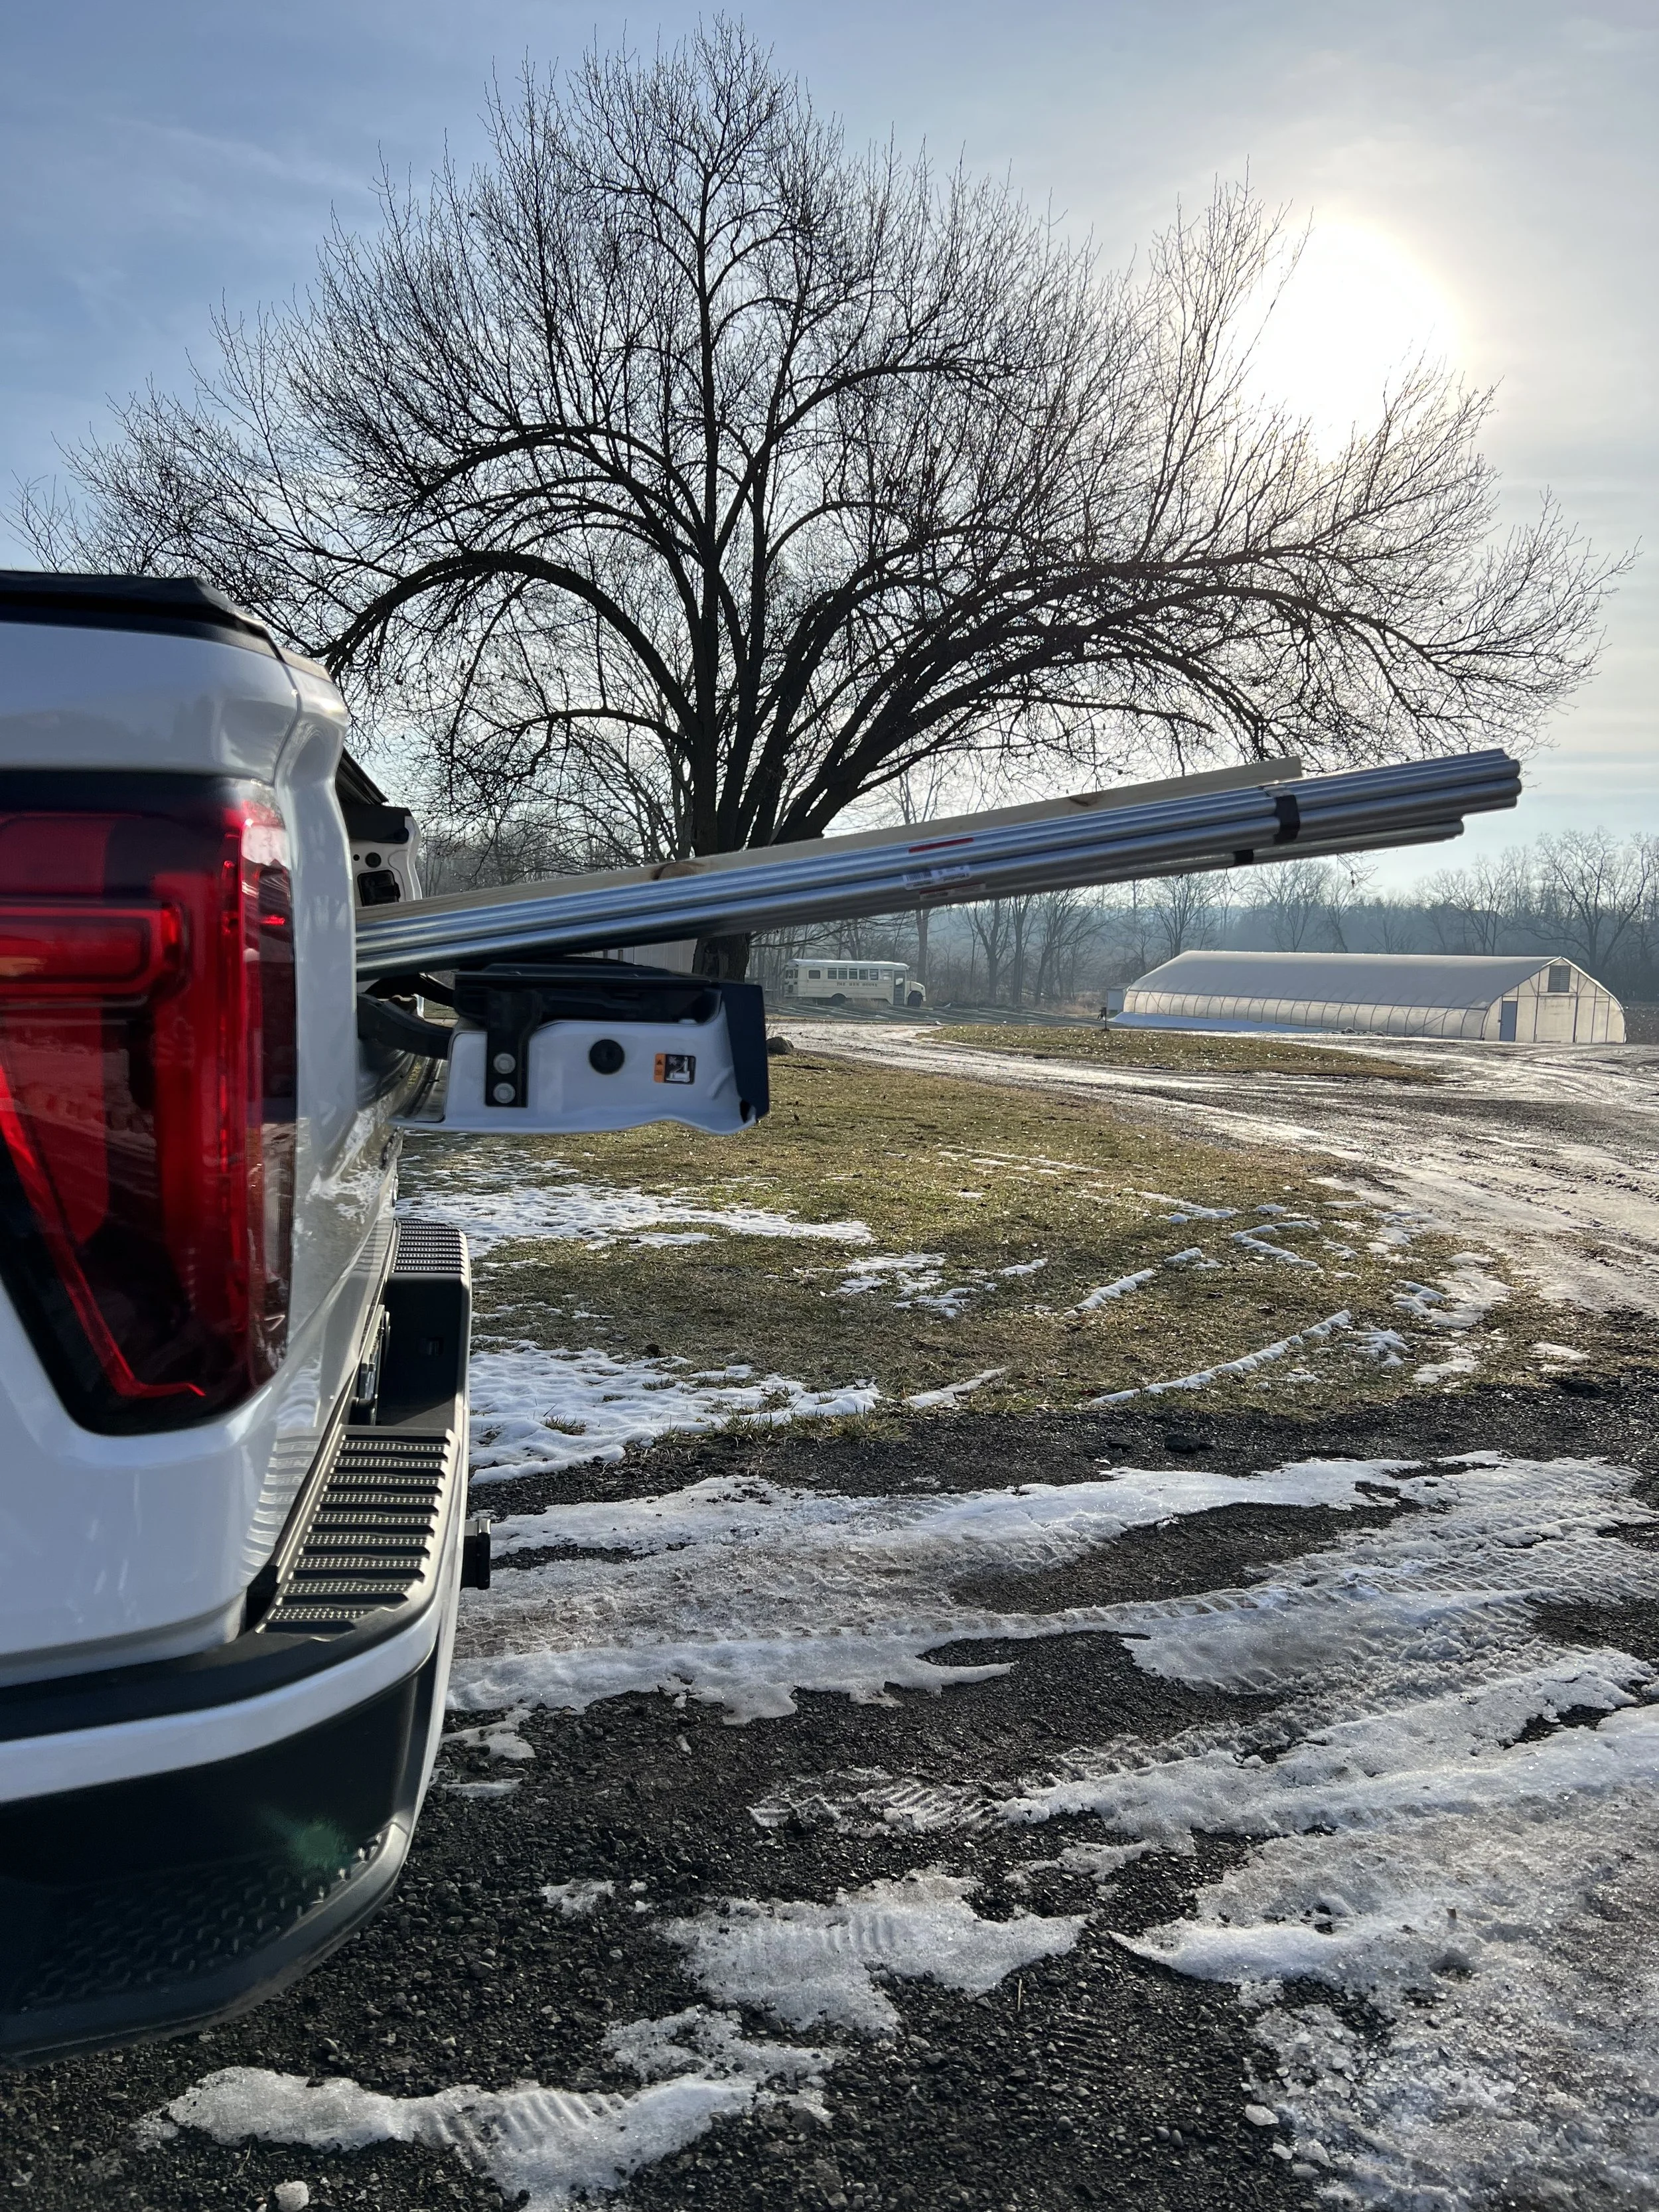
Keep in mind the conduit is 10’ long so ensure you have a proper way to transport the tubing! If you are like me, you run it through your tailgate window through the backseat and in between the two front seats to rest on your dashboard! Or if you have a cool truck like my husband, you have this mini tailgate!! What!? I didn’t even realize that is what it was for!
How to Bend Conduit Using a Hoop Bender
Once you have your supplies, it’s time to install your hoop bender. The conduit is 10 feet long and you will need to be able to maneuver it so choose a location with some room. I previously installed the hoop bender on a wooden electrical spool and just recently on an old worktable.
On one side of your hoop bender is a loop. You will insert one end of your conduit into the loop so that 18-24” is hanging out the other side. Then slowly walk backwards bending the conduit along the bender. Stop once the conduit has reached the opposite end of the bender. Then do the same with the other side.
Voila! You just made your own hoops. Pretty dang simple isn’t it? The hardest part is putting on real pants to go to the store for the conduit!
How to Install Low Tunnel Hoops in Garden Beds
I primarily use our hoops in our beds, so they are easy to install. I simply push them down into the soil on the inside of the bed. No real strategy here. I just put all my weight on each side of the hoop to ensure it goes down at least the depth of the bed. I like to place hoops every 6-8’.

Best Way to Secure Row Cover to Hoops
Once the hoops are in place and the row cover has been laid, you will need to secure the row cover. You can use Snap Clamps but honestly, they aren’t my favorite. To put it simply, they aren’t strong enough. One gust of wind sends them flying.


Instead, I like to use metal spring clamps from Home Depot. They’re less than a dollar and worth every penny! No matter how strong the wind, these clamps will keep your tunnel intact. But beware, you will find the black rubber tips all over the ground because they fall off easily.

If I am using hoops in the field, I will use one clamp per hoop. Here, the hoops are in a larger hoop with minimal wind, so I use one every other hoop.

Making your own low tunnel hoops is one of the simplest and most affordable ways to protect your garden beds and cut flowers. With a hoop bender and a few pieces of electrical conduit, you can create sturdy, reusable row cover supports in just minutes. Whether you’re trying to protect seedlings from frost, extend your growing season, or shield your flowers from pests, DIY low tunnel hoops are a practical solution that pay for themselves quickly. Once you make your first set, you’ll wonder why you didn’t start sooner.